Microsoft OneDrive keeps files backed up, protected with 2FA, synced, and accessible on all your devices, allowing you and your team to collaborate anytime. The OneDrive app lets you view and share OneDrive files, folders, and documents with campus partners.
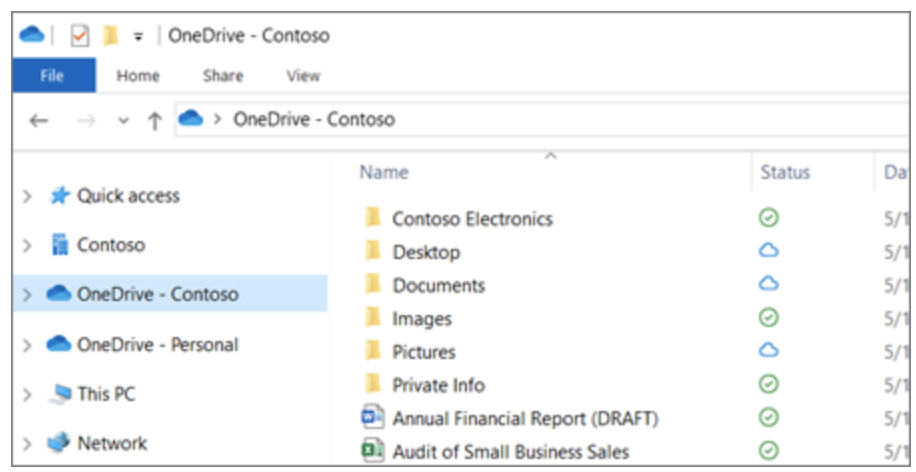
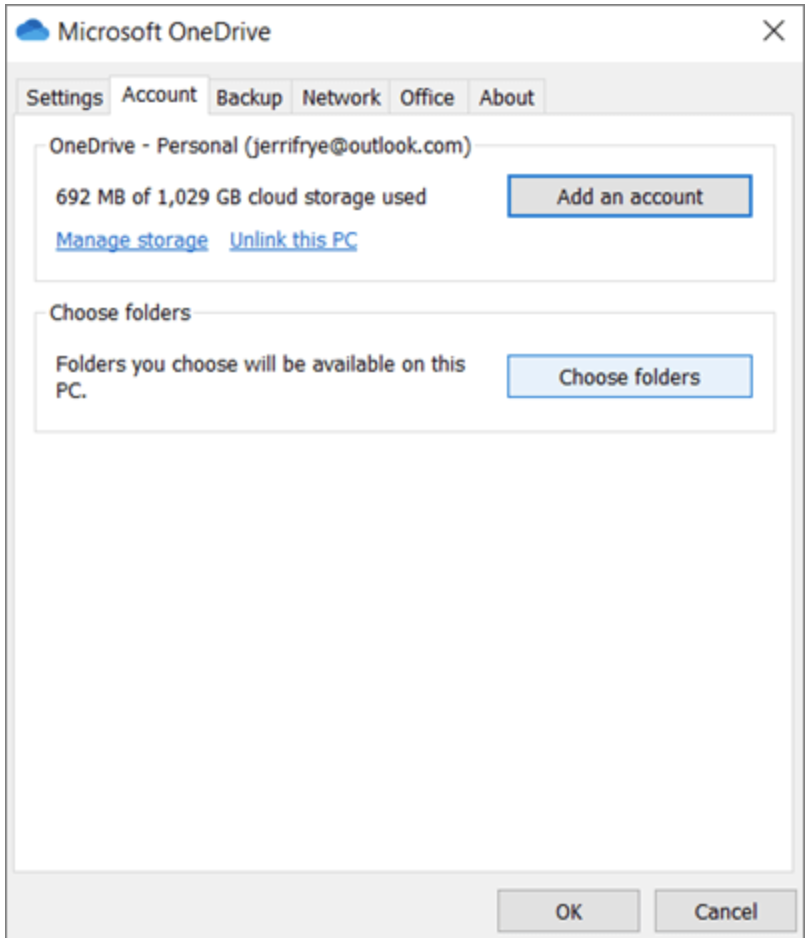
With OneDrive, students are provided with 100GB of storage, and faculty and staff are provided with 1 TB of storage. You can work with your synced files directly in File Explorer and access your files even when you're offline. Whenever you're online, any changes that you or others make will sync automatically.
Accessing OneDrive
- If you're using Windows 10, your computer already has the OneDrive app installed. If you don't have Windows 10 or Office 2016, install the Windows version of the new OneDrive sync app. Note: clicking this link will automatically trigger a download.
- You can access OneDrive by going to the Microsoft login page (sign in with your Chapman email and password).
- If you're using a Mac, please visit our OneDrive for Mac resource page.